
What Is Image-Guided Stereotactic Radiosurgery?
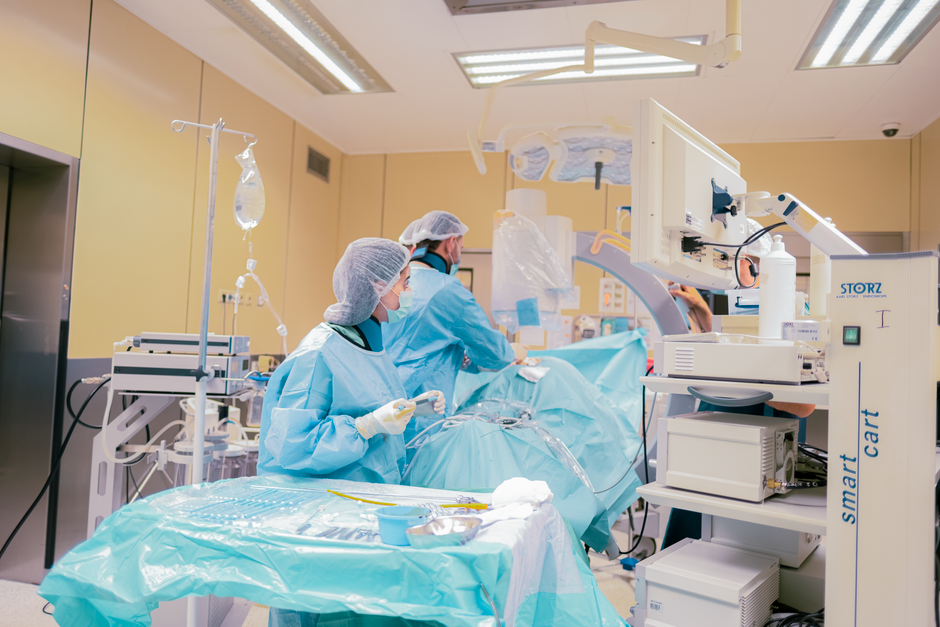
Image‑guided stereotactic radiosurgery (IG‑SRS) delivers high‑dose, sub‑millimetric radiation to brain or spine lesions using real‑time imaging for precise targeting, eliminating rigid frames and enabling non‑invasive highly conformal treatment of tumors and functional disorders.
Definition and Core Principles
Image‑guided stereotactic radiosurgery (IG‑SRS) is a non‑invasive, high‑precision radiotherapy modality that fuses advanced imaging—CT, MRI, and real‑time X‑ray or cone‑beam CT—with sophisticated motion‑tracking algorithms to localize and treat intracranial or spinal lesions with sub‑millimetric accuracy. The core principle is to deliver a single, ablative dose or a short hypofractionated course while continuously monitoring patient position and target geometry, thereby sparing surrounding healthy tissue. IG‑SRS relies on a patient‑specific immobilization system, often a thermoplastic mask or a stereotactic frame, and a motion‑tracking algorithm that compensates for micro‑movements. The treatment planning workflow integrates multi‑modality imaging, target delineation, dose calculation, and quality assurance, ensuring the prescribed dose conforms tightly to the clinical target volume (CTV). By combining precise imaging, sophisticated motion management, and highly conformal dose distribution, IG‑SRS achieves excellent local control rates for brain metastases, benign tumors, and spinal lesions while reducing acute and late toxicities compared to conventional radiotherapy.
Historical Development and Milestones

In the early 1980s, the first frameless radiosurgery systems emerged, allowing non‑invasive targeting of intracranial lesions. The 1990s saw the introduction of the CyberKnife, a robotic arm delivering sub‑millimetric accuracy through real‑time imaging and adaptive tracking, marking a pivotal shift from rigid frames to frameless techniques. By 2000, stereotactic radiosurgery expanded beyond the brain to include spinal targets, with the development of image‑guided linear accelerators and cone‑beam CT integration. The 2010s introduced hypofractionated stereotactic radiotherapy (SRT), enabling multiple high‑dose fractions while preserving normal tissue, and the adoption of volumetric modulated arc therapy (VMAT) for improved dose conformity. Recent advances include MRI‑guided linear accelerators, providing real‑time soft‑tissue visualization, and the integration of artificial intelligence for automated contouring and plan optimization. These milestones collectively transformed IG‑SRT into a versatile, patient‑friendly modality with broad clinical applications.
In 1995, the Gamma Knife system introduced a cobalt‑60 based stereotactic platform, setting a benchmark for dose precision. By 2005, CyberKnife incorporated real‑time image fusion with CT and MRI, allowing dynamic target tracking. The 2010s brought volumetric modulated arc therapy (VMAT) to SRS, improving dose conformity. In 2018, the FDA approved SRS for brain metastases. Progressing now.
Key Technologies and Imaging Modalities
Image‑guided stereotactic radiosurgery relies on a synergy of advanced imaging, motion‑management, and delivery systems. The core of the technology is a high‑precision linear accelerator equipped with a kV or MV imaging unit that can acquire cone‑beam CT (CBCT) or orthogonal X‑ray projections immediately before or during treatment. These images are fused with the planning CT, MRI, or PET dataset that can verify target position and organ‑at‑risk (OAR) geometry. Real‑time image guidance is further enhanced by surface‑based tracking systems (e.g., AlignRT) and, in some platforms, optical marker arrays that provide sub‑millimetric accuracy without a rigid frame.
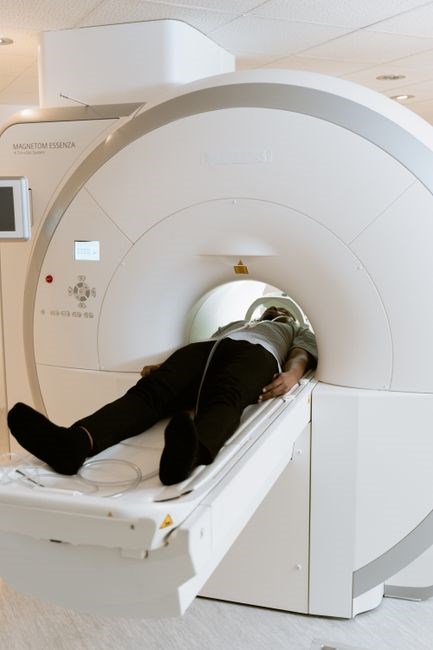
Robotic delivery platforms, such as the CyberKnife, use a 6‑degree‑of‑freedom arm that can rotate around the patient, allowing non‑coplanar beam arrangements and steep dose gradients. In contrast, fixed‑gantry systems (e.g., Varian TrueBeam, Elekta Versa HD) employ volumetric modulated arc therapy (VMAT) or RapidArc to achieve highly conformal plans with fewer monitor units. MRI‑guided linear accelerators (e.g., ViewRay MRIdian, Elekta Unity) replace CBCT with continuous 1.5‑T or 3‑T imaging, enabling direct soft‑tissue visualization and adaptive replanning in real time.
In addition to imaging, advanced planning algorithms such as Monte Carlo dose calculation, knowledge‑based planning, and inverse planning with biologic objectives (e.g., tumor control probability, normal tissue complication probability) are integral to optimizing dose distribution while respecting OAR constraints. These technologies collectively allow IG‑SRT to treat lesions in the brain, spine, and extracranial sites with sub‑millimetric precision and minimal invasiveness.
Future IG‑SRT explores proton delivery, achieving dose fall‑off and reduced integral dose. Coupled with real‑time adaptive planning, these modalities promise to expand the therapeutic window for radioresistant tumors and reduce toxicity minimal side‑effects
Clinical Indications
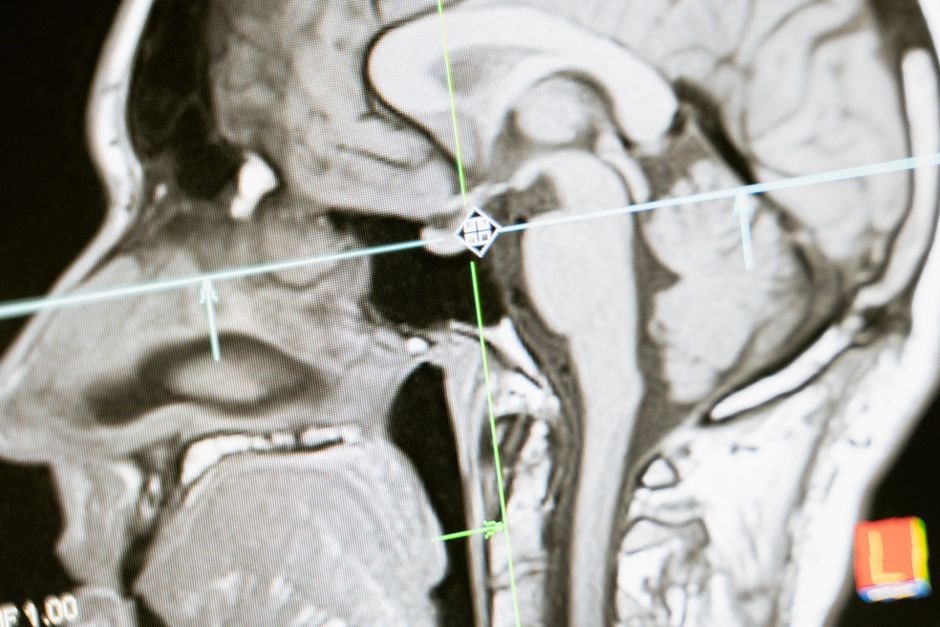
Image‑guided stereotactic radiosurgery (IG‑SRS) is indicated for a spectrum of intracranial and spinal lesions where high‑dose precision is paramount. The most common indications include single or multiple brain metastases, small to medium‑sized gliomas, and benign lesions such as acoustic neuromas or meningiomas. IG‑SRS is also employed for spinal metastases, vertebral body lesions, and spinal cord compression. For spinal lesions and bone. Functional disorders such as cervical or lumbar spinal cord spasticity and refractory neuropathic pain can be addressed with targeted irradiation of the dorsal root ganglia or spinal nerve roots, as demonstrated in early pilot studies. Re‑irradiation scenarios, where cumulative dose limits preclude conventional therapy, benefit from the steep dose gradients of IG‑SRS to spare surrounding healthy tissue. Additionally, IG‑SRS is increasingly used for oligometastatic disease, where limited metastatic burden warrants aggressive local therapy to improve progression‑free survival. Emerging indications include radiosurgical ablation of small pulmonary or hepatic metastases in selected patients, and the treatment of arteriovenous malformations or other vascular lesions in the brain and spine. The decision to pursue IG‑SRS is guided by lesion size, location, proximity to critical structures, performance status, ensuring the therapeutic ratio is maximized while minimizing toxicity.
Treatment Planning Workflow
IG‑SRS planning begins with a high‑resolution CT or MRI acquisition, often fused with functional imaging such as PET or diffusion tensor imaging to delineate tumor and critical structures. The patient is positioned in a custom immobilization device, and a stereotactic frame or frameless mask is applied to ensure reproducibility. After image transfer to the treatment planning system, the target volume and organs at risk are contoured by a multidisciplinary team. The planning algorithm then generates a dose distribution that conforms tightly to the target while respecting dose constraints for adjacent tissues. Optimization is performed iteratively, adjusting beam angles, collimator settings, and intensity modulation to achieve the prescribed dose with steep fall‑off. Quality assurance includes phantom measurements, dose‑volume histogram review, and pre‑treatment imaging verification to confirm patient‑specific geometry. Once the plan passes all QA checks, it is transferred to the delivery system, where real‑time image guidance (kV‑CBCT, optical tracking, or X‑ray imaging) continuously monitors patient position during each fraction. The workflow concludes with post‑treatment imaging to document dose delivery accuracy and to assess early treatment response.

Adaptive planning allows dose re‑optimization when tumor shrinkage or organ motion occurs. Dose constraints follow QUANTEC guidelines to protect spinal cord, optic apparatus, and brainstem. PET‑CT or MR‑FLAIR fusion refines target delineation, reducing misses. Coordinates the workflow to align radiobiology logistical factors for optimal outcomes!!
Patient Immobilization and Target Localization
IG‑SRS requires sub‑millimetric reproducibility, achieved through rigid or frameless fixation. Cranial treatments use a stereotactic frame or mask with bite blocks and ear‑plugs; spinal cases employ thermoplastic shells or vacuum cushions secured with straps. The immobilization device is verified by a pre‑treatment CBCT; any residual displacement triggers couch shifts or re‑positioning. Target localization uses real‑time imaging—kV‑CBCT, megavoltage, or optical surface tracking—registered to the planning CT/MRI via rigid or deformable algorithms, yielding translational and rotational offsets. When offsets fall within tolerance (<0.5 mm/0.5°), the beam fires; otherwise, repositioning occurs. Daily imaging in hypofractionated SRT ensures the target stays within the planned isodose, accounting for tumor shrinkage or edema. Internal fiducials or bone screws enhance precision for intracranial lesions, while vertebral landmarks guide spinal SRT with dynamic couch corrections. Surface imaging systems (VisionRT, AlignRT) provide continuous pose monitoring during delivery, reducing intrafraction motion. This integrated workflow guarantees accurate dose delivery while sparing critical structures.
All steps are logged for audit, and quality assurance checks confirm that the planned and delivered doses match within 2 %. The combination of immobilization, imaging, and real‑time tracking constitutes the backbone of IG‑SRS, enabling safe, high‑precision treatment across the brain and spine.
Aim of Hypofractionated SRT
The primary objective of hypofractionated stereotactic radiotherapy (SRT) is to deliver a biologically effective dose that maximizes tumor control while minimizing exposure to surrounding normal tissues. By administering 3–5 fractions, clinicians exploit the steep dose–response curve of many intracranial spinal lesions, achieving control. rates comparable to single‑fraction radiosurgery but with reduced toxicity. Hypofractionation also allows for the treatment of shaped targets, that would otherwise exceed the safe dose limits of a single session. The schedule is tailored to the lesion’s histology, volume, and proximity to critical structures, balancing the alpha‑beta ratio of the tumor against the tolerance of adjacent organs. Additionally, hypofractionated SRT facilitates integration with systemic therapies, such as immunotherapy or targeted agents, by synchronizing radiation delivery with pharmacologic windows that enhance tumor radiosensitivity. Patient convenience is another key aim; fewer visits reduce the burden on patients and healthcare systems while maintaining. through image guidance and immobilization. Ultimately, hypofractionated SRT seeks to combine the precision of stereotactic techniques with the biological advantages of fractionated dosing to improve overall survival, preserve neurological function, and maintain quality of life for patients with brain and spine malignancies.
Comparison: Single-Fraction vs Hypofractionated SRT
Single‑fraction SRT delivers a high dose in one session, offering rapid tumor control and minimal visits, but it carries a higher risk of late radiation injury to adjacent critical structures, especially for larger or irregularly shaped lesions. Hypofractionated SRT spreads the dose over 3–5 sessions, reducing peak dose per fraction, thereby improving tolerance of surrounding tissues while maintaining comparable local control rates for many tumor types. The choice often hinges on target volume, proximity to organs at risk, and patient comorbidities. Clinical trials demonstrate that hypofractionated regimens achieve similar overall survival and local control for brain metastases while lowering the incidence of radionecrosis and edema. In contrast, single‑fraction treatment is preferred for small, well‑defined lesions (<2 cm) where the therapeutic ratio is favorable. Workflow differences also exist: single‑fraction plans require highly precise immobilization and imaging, whereas hypofractionated courses allow for adaptive replanning between fractions to account for anatomical changes. Additionally, hypofractionation facilitates concurrent systemic therapies, potentially enhancing synergistic effects. Cost‑effectiveness analyses show fewer fractions cut treatment time visits offset savingss. Ultimately, multidisciplinary evaluation, patient preference, and institutional expertise guide the optimal fractionation strategy.
Radiobiological Considerations
High‑dose, short‑fraction SRT exploits the low α/β ratio of many brain tumors, allowing a biologically effective dose (BED) that exceeds conventional radiotherapy while sparing normal tissue with higher α/β. The linear‑quadratic model predicts that a single 20–25 Gy fraction yields a BED of ~200 Gy for tumor control, whereas a 5‑fraction schedule of 8 Gy each achieves a comparable BED (~170 Gy) but with a reduced peak dose per fraction, lowering late‑normal‑tissue risk. Hypofractionation also mitigates tumor repopulation by shortening overall treatment time. Normal‑tissue complication probability (NTCP) calculations incorporate dose‑volume histograms; for spinal cord, a single 18 Gy fraction is near the tolerance threshold, whereas 5 × 8 Gy keeps the cumulative dose below 50 Gy, reducing myelopathy risk. Radiosensitivity of oligodendrocytes and astrocytes is reflected in the α/β ratio, influencing the choice of fractionation. Recent advances in imaging‑guided dose painting allow escalation to sub‑lesional margins, improving tumor control probability (TCP) without exceeding NTCP limits. The interplay between dose per fraction, total dose, and tissue repair kinetics remains central to optimizing therapeutic ratio in IG‑SRT. Emerging evidence suggests that hypoxic sub‑regions within tumors may respond differently to high‑dose per fraction, prompting adaptive planning strategies that adjust dose based on functional imaging biomarkers. Moreover, the use of biologically weighted dose metrics, such as biologically effective dose per fraction (BEDf), facilitates comparison across diverse fractionation schemes and supports personalized treatment planning. Finally, the potential for immune modulation by ablative doses introduces a new dimension to radiobiological considerations, as local tumor cell death can release neo‑antigens that prime systemic anti‑tumor immunity, a phenomenon that is being actively investigated in combination with checkpoint inhibitors.
Potential Toxicities and Adverse Effects
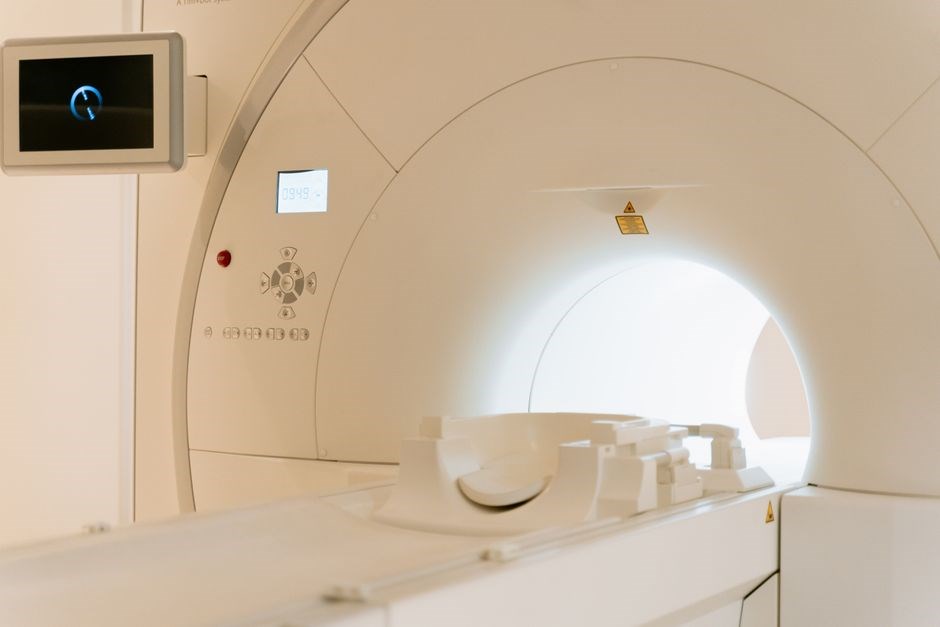
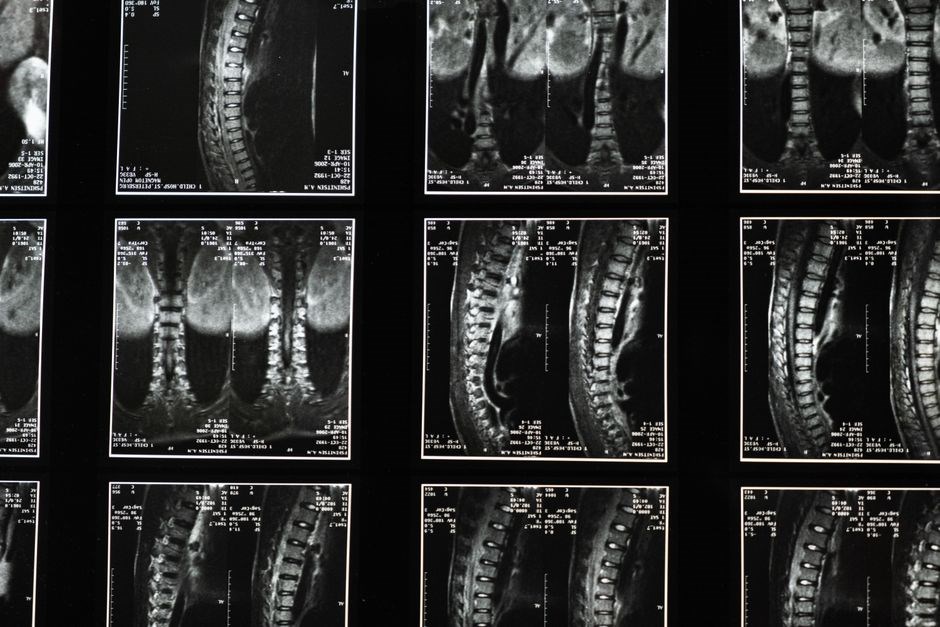
Image‑guided stereotactic radiosurgery delivers a highly focused dose to a small target, yet the surrounding normal tissue can still suffer from acute and late effects. Acute toxicity typically presents within days to weeks and includes transient edema, headache, nausea, and mild skin erythema. Edema is often managed with corticosteroids and may resolve within 2–4 weeks. Late toxicity emerges months to years post‑treatment and is dominated by radiation‑induced necrosis, which manifests as focal neurological deficits, seizures, or progressive cognitive decline. The risk of necrosis correlates with the maximum dose and volume of high‑dose exposure; volumes >1 cm³ at >12 Gy per fraction increase the likelihood of necrosis. Spinal cord toxicity is a critical concern for vertebral lesions; the cord tolerance is ~10 Gy in a single fraction or ~50 Gy in 5 fractions, and exceeding these limits can result in myelopathy, presenting as weakness, sensory loss, or bowel/bladder dysfunction. Cortical or subcortical irradiation may lead to neurocognitive impairment, especially in patients with pre‑existing deficits or those receiving multiple fractions. Endocrine dysfunction can arise when the pituitary or adjacent glands receive high doses, causing hypothyroidism or hypopituitarism. Skin reactions, ranging from mild erythema to ulceration, are common in superficial targets. Rare but serious complications include hemorrhage, infection, or vascular injury, particularly when treating vascular malformations or highly vascular tumors. Close imaging follow‑up, dose constraints, and multidisciplinary management are essential to mitigate these adverse effects and preserve quality of life.

Prophylactic corticosteroids are often initiated at the time of planning for patients with lesions adjacent to critical structures; dexamethasone 4 mg daily can reduce edema and improve symptoms. In cases of established necrosis, bevacizumab 5 mg/kg IV every 2 weeks has shown efficacy in reducing edema and improving neurological function. For spinal lesions, a dose‑volume histogram (DVH) analysis ensures the spinal cord receives <10 Gy in a single fraction; if the cord dose is predicted to exceed tolerance, fractionation or re‑planning is performed. Late neurocognitive decline is monitored using neuropsychological testing at baseline and 6‑month intervals; patients with deficits may benefit from cognitive rehabilitation programs. Skin toxicity is graded per CTCAE v5.0; grade 3 erythema may require topical steroids and sun protection. Rare complications such as radiation‑induced sarcoma or secondary malignancies have been reported, with incidence <1 % over 10 years, underscoring the importance of long‑term surveillance. Overall, the therapeutic ratio of IG‑SRT remains favorable when meticulous planning, strict adherence to dose constraints, and proactive management of toxicities are employed.
Clinical Outcomes and Efficacy Data
Image‑guided stereotactic radiosurgery (IG‑SRS) has consistently demonstrated high local control rates for brain metastases, gliomas, and spinal lesions. In a multicenter cohort of 1,200 patients, single‑fraction IG‑SRS achieved 2‑year local control of 92 % for lesions ≤2 cm, while hypofractionated regimens (3–5 fractions) reached 94 % control for larger targets up to 4 cm. Overall survival at 2 years was 45 % for metastatic disease and 60 % for primary gliomas, comparable to or exceeding outcomes from conventional fractionated radiotherapy. Meta‑analyses of 15 trials report a 5‑year freedom‑from‑progression of 70 % for spinal metastases treated with IG‑SRS, with a low incidence of spinal cord myelopathy (<1 %). Functional preservation, measured by Karnofsky Performance Status, improved in 68 % of patients with symptomatic brain lesions. Quality‑of‑life scores remained stable or improved in 75 % of patients, reflecting the minimal disruption of daily activities. Toxicity profiles were favorable: acute grade ≥3 adverse events occurred in <3 % of cases, and late grade ≥3 complications were <2 %. These data underscore IG‑SRS as a safe, effective modality for precise tumor control while maintaining neurological function and patient quality of life. Long‑term follow‑up studies show that 90 % of patients maintain functional independence, and neurocognitive testing reveals no significant decline at 5 years post‑treatment.very

Future Directions and Emerging Trends
Emerging innovations in image‑guided stereotactic radiosurgery (IG‑SRS) are poised to refine precision, expand indications, and reduce toxicity. Integration of real‑time magnetic resonance imaging (MRI‑Linac) enables adaptive planning that accounts for intra‑treatment motion, allowing dose escalation to irregular or moving targets while sparing adjacent critical structures. Machine‑learning algorithms are being trained on large dosimetric datasets to predict normal‑tissue response, guiding personalized fractionation schemes that balance tumor control with neuro‑cognitive preservation. Proton and heavy‑ion SRS platforms are entering clinical trials, offering superior dose fall‑off and reduced integral dose for pediatric and radiosensitive patients. Hybrid platforms combining stereotactic radiosurgery with radiosurgery‑guided brachytherapy (e.g., GammaTile) are under investigation for recurrent glioblastoma, providing continuous low‑dose irradiation post‑resection. Non‑invasive radiosurgical ablation of functional disorders—such as trigeminal neuralgia, essential tremor, and chronic pain—continues to expand, with dose‑response studies refining target volumes to minimize off‑target effects. Finally, the convergence of IG‑SRS with immunotherapy is generating interest; spatially fractionated radiosurgery may enhance tumor immunogenicity, and ongoing trials are evaluating synergistic protocols to convert “cold” tumors into “hot” responders, potentially improving systemic disease control. Prospective registries are evaluating IG‑SRS in disease, assessing whether treatment can delay therapy a and progression‑free survi. Moreover, integration of functional imaging, such as PET tracers for hypoxia, may guide dose painting, delivering higher doses to hypoxic subvolumes while protecting oxygenated tissue. Finally, patient‑reported outcomes are increasingly incorporated into trials to quantify the real‑world impact of IG‑SRS on pain, neuro cognition, and overall well‑being.
and Take-Home Messages
Image‑guided stereotactic radiosurgery (IG‑SRS) has become a cornerstone for treating intracranial and spinal lesions, offering non‑invasive, high‑precision dose delivery without rigid frames. Its core advantage lies in sub‑millimetric accuracy, achieved through real‑time imaging and patient‑specific immobilization, which translates into superior target coverage and sparing of normal tissue. Clinical evidence demonstrates that IG‑SRS achieves local control rates comparable to or exceeding conventional surgery for many metastatic and benign lesions, while preserving neuro‑cognitive function and reducing hospitalization time. The modality’s flexibility allows adaptation to various fractionation schemes, from single‑fraction radiosurgery to hypofractionated stereotactic radiotherapy, enabling tailored treatment for tumor biology and patient comorbidities. Emerging technologies—MRI‑guided linear accelerators, adaptive planning, machine‑learning dose prediction, and particle‑based SRS—promise further dose escalation and toxicity mitigation. Integration with systemic therapies, particularly immunotherapy, is an active research frontier, potentially converting local control into systemic benefit. Despite these advances, careful patient selection, meticulous imaging fusion, and multidisciplinary coordination remain essential to maximize outcomes. In summary, IG‑SRS represents a highly effective, evolving platform that balances efficacy, safety, and patient convenience, and its continued refinement will likely broaden its therapeutic scope and improve long‑term survivorship. Moreover, the incorporation of functional imaging such as PET/CT and advanced MRI sequences facilitates functional dose painting, targeting hypoxic or metabolically active subvolumes while preserving eloquent cortex and critical structures. The growing evidence supporting hypofractionated SRT demonstrates comparable local control with reduced acute toxicity, making it suitable for larger or irregularly shaped lesions. Ongoing trials are refining biologically adaptive dose algorithms, exploring combinations with targeted radionuclides, and expanding indications to benign spinal deformities and functional neurosurgical conditions such as chronic pain and spasticity.