Jenn-Air Oven Manual: A Comprehensive Guide (Updated 03/09/2026)
Today’s date is 03/09/2026 05:10:37. This manual details self-cleaning cycle effectiveness, testing baked-on mixtures like eggs, lard, and cherry-pie filling.
Welcome to the world of Jenn-Air culinary innovation! Jenn-Air ovens are renowned for their exceptional performance, sophisticated design, and advanced features, consistently delivering professional-grade results in the home kitchen. This comprehensive guide is designed to help you unlock the full potential of your Jenn-Air oven, ensuring years of satisfying cooking experiences.

Jenn-Air prioritizes precision and control, offering a range of models equipped with cutting-edge technologies like True Convection, temperature probes, and self-cleaning capabilities. Understanding these features is key to mastering your oven and achieving consistently delicious outcomes. This manual will walk you through everything from basic operation to advanced settings, providing clear instructions and helpful tips.
Whether you’re a seasoned chef or a novice cook, this resource will empower you to confidently tackle any recipe. We’ll cover essential aspects like setting temperatures, utilizing various oven modes, and maintaining your oven for optimal performance; Let’s begin your journey to culinary excellence with your Jenn-Air oven!
Understanding Your Jenn-Air Oven Model
Jenn-Air offers a diverse range of oven models, each tailored to specific cooking needs and preferences. Before diving into operation, it’s crucial to familiarize yourself with the unique characteristics of your particular model. Key differences lie in control panel layouts, available oven modes (like convection options), and specialized features such as integrated temperature probes or steam-assist technology.
Certain models boast advanced features like dual-fuel capabilities (gas cooktop, electric oven) or multiple oven compartments for simultaneous cooking. Understanding these distinctions will ensure you utilize the correct settings and maximize efficiency. Refer to the model-specific sections within this manual for detailed information pertaining to your oven’s capabilities.
This guide aims to provide a general overview, but always prioritize the instructions outlined for your specific Jenn-Air oven model. Knowing your oven’s nuances is the first step towards becoming a confident and skilled home chef.
Identifying Model Number and Features
Locating your Jenn-Air oven’s model number is essential for accessing specific support resources and documentation. Typically, the model number is found on a label affixed to the oven frame. Open the oven door and look for a sticker on the side wall, or potentially on the back panel. This number is a unique identifier for your appliance.
Once you have the model number, you can accurately identify the features included with your oven. These features might encompass convection baking, a temperature probe for precise cooking, or a self-cleaning cycle designed for effortless maintenance. Knowing these capabilities allows you to fully leverage your oven’s potential.
Referencing the model number when contacting Jenn-Air customer support will expedite assistance and ensure you receive tailored guidance for your specific appliance.
Locating the Oven Manual Online
Finding your Jenn-Air oven manual online is a convenient alternative to the physical copy. The official Jenn-Air website is the primary resource for digital manuals. Navigate to the “Support” or “Owners Manuals” section of their website, typically found at JennAir.com. You’ll likely need your oven’s model number to perform a targeted search.
Many third-party websites also archive appliance manuals. However, always verify the source’s credibility to ensure you’re accessing an accurate and up-to-date version. Downloading the manual as a PDF allows for easy storage and offline access.
Online manuals often include searchable features, making it simpler to find specific information regarding operation, troubleshooting, or safety precautions. Regularly check for updates to the manual on the Jenn-Air website.

Operating Your Jenn-Air Oven
Mastering your Jenn-Air oven involves setting temperatures, utilizing various oven modes like bake and broil, and understanding the control panel’s functions effectively.
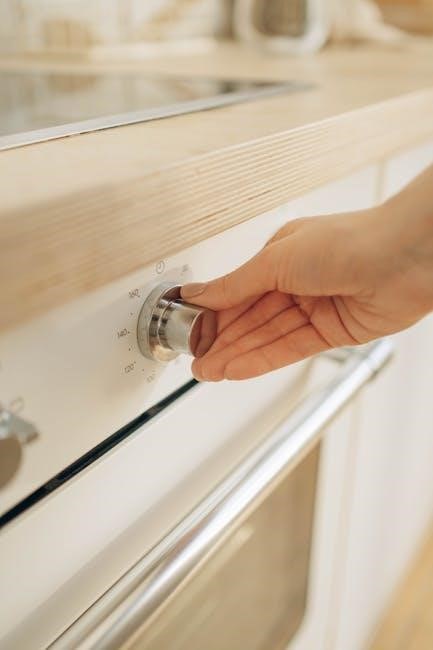
Basic Oven Operation: Setting Temperature and Time
Initiating the baking process with your Jenn-Air oven is straightforward. Begin by pressing the ‘Bake’ button on the control panel; the display will illuminate, prompting you to enter the desired temperature. Utilize the up and down arrow keys to precisely set the temperature according to your recipe’s specifications. Once the temperature is selected, press the ‘Start’ button.
Next, set the cooking time. Press the ‘Time’ button, and again, use the arrow keys to input the required duration. Confirm your time setting by pressing ‘Start’ a second time. The oven will automatically preheat to the set temperature, and a signal will indicate when preheating is complete. Remember to always consult your recipe for accurate temperature and time guidelines. For optimal results, avoid opening the oven door frequently during baking, as this can cause temperature fluctuations.
Understanding Oven Modes: Bake, Broil, Convection
Jenn-Air ovens offer versatile cooking modes to suit various recipes. The ‘Bake’ mode utilizes heat from the bottom element, ideal for cakes, cookies, and casseroles. ‘Broil’ employs intense heat from the top element, perfect for browning and searing – always use the broil pan and monitor closely to prevent burning.
‘Convection’ mode, a standout feature, circulates hot air throughout the oven using a fan, ensuring even cooking and faster results. This is excellent for roasting meats and baking multiple items simultaneously. When using convection, reduce the recipe temperature by 25°F and check for doneness earlier than the recommended time. Experimenting with these modes unlocks the full potential of your Jenn-Air oven, delivering consistently delicious outcomes. Refer to your recipe for the most appropriate mode.
Using the Control Panel and Display
The Jenn-Air oven’s control panel provides intuitive access to all functions. The digital display clearly shows the set temperature, cooking time, and selected oven mode. Use the up and down arrow keys to adjust settings, and the ‘Start’ button to initiate the cooking process.
The control panel also features dedicated buttons for frequently used functions like ‘Bake’, ‘Broil’, and ‘Convection’. Explore the ‘Menu’ option for advanced settings, including self-clean and temperature probe controls. Familiarize yourself with the display’s indicators, which provide real-time feedback on oven status. A clear understanding of the control panel ensures effortless operation and precise cooking results. Refer to the detailed diagrams in this manual for specific button locations and functions.
Advanced Features & Settings
Explore convection baking, temperature probe accuracy, and the detailed self-cleaning cycle. These features enhance cooking precision and simplify oven maintenance significantly.
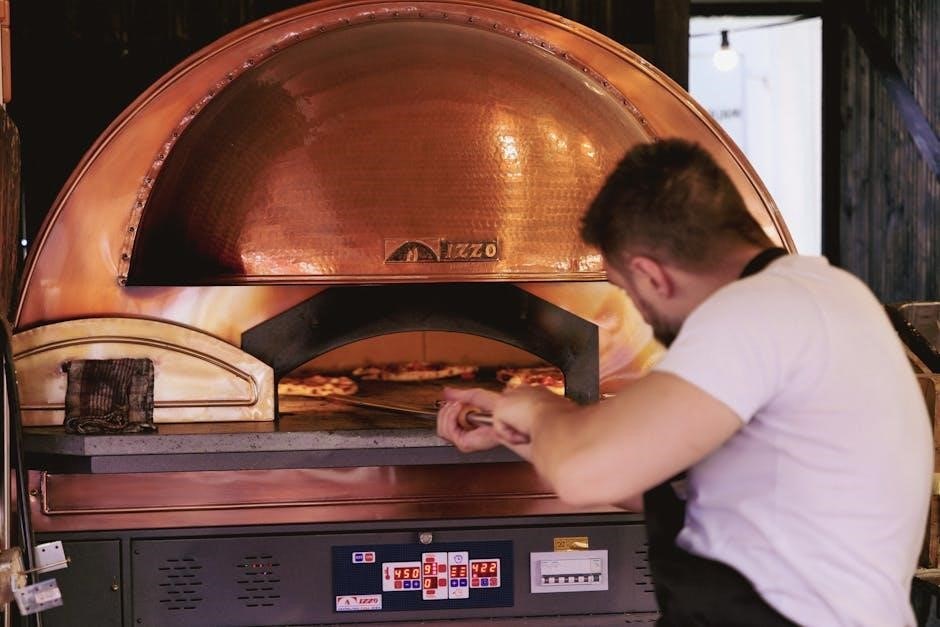
Convection Baking: Benefits and Usage
Convection baking utilizes a fan to circulate hot air throughout the oven cavity, resulting in remarkably even cooking and faster preheating times. This technology is especially beneficial when preparing multiple dishes simultaneously, ensuring consistent results across all racks. Unlike traditional baking, where heat rises and can create uneven temperatures, convection distributes heat uniformly, eliminating hot spots.
To utilize the convection feature on your Jenn-Air oven, simply select the “Convection” mode on the control panel. You may need to slightly reduce the cooking temperature by 25°F compared to traditional baking recipes, as convection’s efficiency cooks food more quickly. This adjustment prevents over-browning or drying. Convection is ideal for roasting meats, baking cookies, pies, and casseroles, and achieving a golden-brown finish. Experimenting with convection will unlock a new level of culinary precision and efficiency in your kitchen.
Temperature Probe: Accurate Cooking for Meats
The Jenn-Air temperature probe is a valuable tool for achieving perfectly cooked meats, ensuring both safety and optimal flavor. This probe continuously monitors the internal temperature of your food while it cooks, eliminating guesswork and preventing overcooking or undercooking. Insert the probe into the thickest part of the meat, avoiding bone, fat, or gristle, and connect it to the designated port within the oven cavity.
On the control panel, select the “Temperature Probe” setting and input your desired final internal temperature. The oven will automatically shut off when the set temperature is reached, guaranteeing a precisely cooked result. This feature is particularly useful for roasts, poultry, and thicker cuts of meat. Regularly clean the probe with warm, soapy water to maintain accuracy and hygiene for consistent, delicious meals.
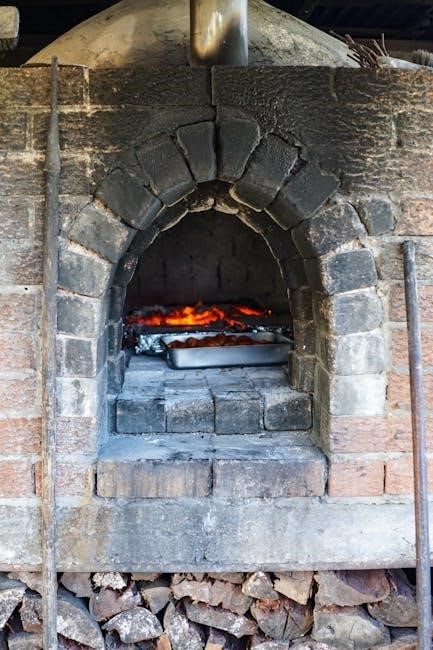
Self-Cleaning Cycle: A Detailed Guide
The Jenn-Air self-cleaning cycle utilizes extremely high temperatures to burn off food residue within the oven interior, minimizing the need for manual scrubbing. Before initiating the cycle, remove all racks, cookware, and any loose debris. Ensure the oven door can fully lock; the cycle will not begin if the door isn’t secure. Select the “Self Clean” option on the control panel and choose the desired cycle length – typically ranging from 2 to 4 hours, depending on soil level.
During the cycle, the oven will lock automatically and become very hot. Avoid opening the door until the cycle is complete and the oven has cooled. A slight odor is normal, but ensure adequate ventilation. Following the cycle, wipe away any remaining ash with a damp cloth.
Self-Clean Cycle Effectiveness & Testing
Evaluating the Jenn-Air oven’s self-cleaning prowess involves rigorous testing with a standardized baked-on mixture. This mixture typically includes challenging residues like eggs, lard, cherry-pie filling, cheese, tomato puree, and tapioca – substances known for their tenacious adherence. Testing assesses the cycle’s ability to fully decompose these materials, leaving minimal residue requiring manual removal.
Results indicate this model achieves “Good” effectiveness in removing the test mixture. While the cycle significantly reduces baked-on debris, some stubborn spots may necessitate a light wipe-down post-cycle. Factors influencing effectiveness include cycle duration, oven soil level, and proper preparation before initiating the self-clean function.
Preparing for the Self-Clean Cycle
Prior to initiating the self-clean cycle on your Jenn-Air oven, meticulous preparation is crucial for optimal results and safety. Begin by removing all racks, baking stones, and any cookware from the oven interior. These items can become damaged by the high temperatures generated during the cleaning process. Wipe up any large spills or loose debris from the oven floor, as these can create excessive smoke.
Ensure the oven door can fully close and latch securely. The self-clean cycle will not operate if the door is ajar. Finally, ventilate your kitchen adequately by opening windows or using the exhaust fan, as the cycle may produce odors. Following these steps ensures a safe and effective self-cleaning experience.
Troubleshooting Self-Clean Issues
If your Jenn-Air oven’s self-clean cycle isn’t functioning correctly, several issues could be the cause. First, verify the door is securely latched; the cycle won’t start if it’s not. Excessive smoke during the cycle often indicates a large amount of food debris – ensure thorough pre-cleaning next time. If the cycle stops prematurely, check your household circuit breaker; the oven may have tripped it.
An error code displayed on the control panel indicates a specific problem; consult the full manual for code definitions. If the oven fails to lock, a faulty door latch may require professional repair. Always allow the oven to cool completely before attempting any troubleshooting steps. Contact Jenn-Air customer support if issues persist.

Maintenance and Troubleshooting
Regular upkeep ensures optimal performance. Address issues like replacing the oven light or deciphering error codes for smooth, reliable operation of your Jenn-Air oven.
Cleaning the Oven Interior (Non-Self-Clean)
Maintaining a clean oven interior is crucial for both performance and food safety. For models without a self-cleaning function, or for quick touch-ups, a manual cleaning routine is necessary. Begin by ensuring the oven is completely cool. Remove oven racks, broiler pan, and any other removable components, washing them separately with warm, soapy water.
Next, create a cleaning solution. A paste of baking soda and water is a gentle yet effective option. Apply the paste liberally to all interior surfaces, avoiding heating elements and any ventilation openings. Allow the paste to sit for at least 20-30 minutes, or even overnight for stubborn stains.
After the soaking period, use a damp cloth or sponge to wipe away the baking soda paste. Rinse thoroughly with clean water, ensuring no residue remains. For particularly difficult baked-on food, a plastic scraper can be helpful, but avoid abrasive cleaners or scouring pads, as these can damage the oven’s finish. Finally, replace the cleaned racks and components, and your oven is ready for use.
Replacing the Oven Light
A functioning oven light is essential for monitoring your cooking progress. If your Jenn-Air oven light burns out, replacing it is a straightforward process. Always disconnect the oven’s power supply at the circuit breaker before attempting any repairs. Locate the oven light cover, typically found near the top of the oven interior. Remove the cover – it may twist or lift off.
Once the cover is removed, you’ll access the light bulb socket. Carefully unscrew the old bulb, noting its wattage and type (often a standard appliance bulb). Replace it with a new bulb of the same specifications. Do not exceed the recommended wattage, as this could damage the socket or wiring.
Reattach the light cover, ensuring it’s securely in place. Restore power to the oven at the circuit breaker and test the new bulb. If the light still doesn’t illuminate, double-check the bulb is properly seated and the power supply is active.
Common Oven Error Codes and Solutions
Jenn-Air ovens utilize error codes to diagnose potential issues. Encountering a code doesn’t automatically mean a major repair is needed; often, simple solutions exist. An “F1” code typically indicates a temperature sensor fault – try resetting the oven by disconnecting power for five minutes. “F2” often signals a heating element problem; inspect the element for breaks or damage (professional repair advised).
“F3” can relate to control board malfunctions, requiring a qualified technician. If you see “F4”, it may indicate a door switch issue – ensure the door is fully closed. “F5” often points to a communication error within the oven’s system. Always consult the full error code list in your oven’s manual for precise definitions.
Before calling for service, attempt a power cycle. If the error persists, document the code and contact Jenn-Air customer support or a certified appliance repair professional.

Safety Information & Warranty
Prioritize safety when operating your Jenn-Air oven. Review crucial precautions and understand your appliance’s warranty details for comprehensive coverage information.
Important Safety Precautions
Always exercise extreme caution when using your Jenn-Air oven to prevent potential hazards. Never allow children to operate the oven unsupervised, and keep them a safe distance away during operation due to high temperatures.
Avoid touching heating elements or the oven interior immediately after use, as severe burns can occur. Ensure proper ventilation during cooking, especially when broiling, to prevent carbon monoxide buildup. Do not use abrasive cleaners or harsh chemicals on the oven surfaces, as they can cause damage.
Regularly inspect the oven’s power cord for any signs of damage and replace it if necessary. Never attempt to repair the oven yourself; contact a qualified technician for any maintenance or repairs. Be mindful of hot cookware and use oven mitts or pot holders when handling it. Always turn off and unplug the oven before cleaning or performing any maintenance.
Keep flammable materials away from the oven and never store items inside the oven when it is not in use. Follow all safety guidelines outlined in this manual to ensure safe and reliable operation.
Jenn-Air Oven Warranty Details
Your Jenn-Air oven is covered by a limited warranty, providing peace of mind and protection against manufacturing defects. The standard warranty typically covers parts and labor for one year from the original purchase date. Extended warranties are often available for purchase, offering coverage for additional years.
This warranty covers defects in materials and workmanship under normal household use. It does not cover damage caused by misuse, accidents, improper installation, or unauthorized repairs. To make a warranty claim, you must provide proof of purchase and contact Jenn-Air’s authorized service center.
The warranty service will be performed by a qualified technician. Jenn-Air reserves the right to replace defective parts or the entire appliance at its discretion. This warranty gives you specific legal rights, and you may have other rights that vary by location. Refer to the complete warranty document included with your oven for full details and limitations.